Knowledge Base
Care
Care Overview
Care Home
Care Calendar
Care Patients
- Patients
- Patient Profile
- Patient Profile
- Patient Profile: Editing Patient Information
- My Patients: Create and Search
- My Patients and Bulk Edits/Actions
- Patient Care Teams
- Patient Programs and Phases
- Goals
- Forms and Assessments
- Creating Forms and Assessments
- Charts & Graphs
- Document Management
- Documents: Uploading
- Data Views
Care Encounters
Care Communications
Care Profiles
How to create and configure roles
Roles is a sub-menu item in the vertical menu on the left side of Designer. It is located under the ‘Access Control’ options.
Roles are used to assign privileges and views to the care team. Each Role has an associated Security Policy that governs the user’s interaction with data in Care, and also defines what elements of the Care application they have available.
To configure Roles:
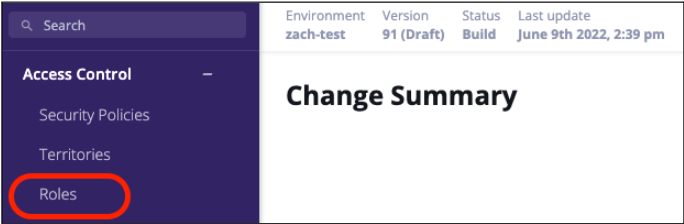
- Click on “Roles” under the “Access Control” Menu.
2. Click on either an existing policy (in the below screen-shot, r-admin-role is an existing policy) or ‘New’ on the right side of the screen.

3. Name the policy following the restrictions in the prompt.
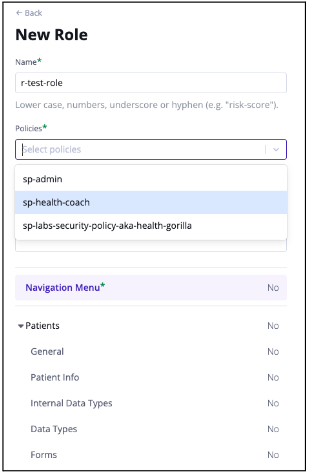 4. Add Security Policy(ies) to the Role using the drop down menu.
*Click here to learn more about creating a Security Policy.
5. Create a description for the Role. Best practice is to add a description of the role’s purpose, although it is not a mandatory field.
6. To configure which Navigation Menu items will show in Care for the policy, click the + sign next to each item needing to appear under the ‘Available Menu Items’ column (left). This moves the item under the ‘Visible Menu Items’ column (right). The items can be rearranged as needed.

7. Click ‘Save Changes’ at the bottom right of the screen once all configurations have been made.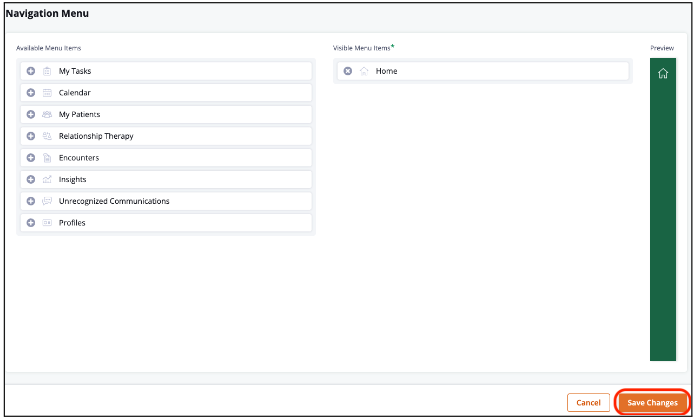
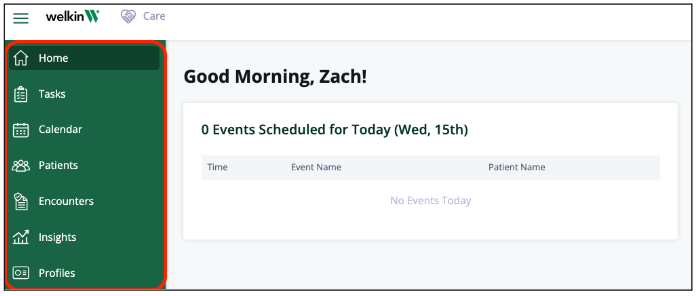
*Note: Below is a view of the Navigation Menu items in Care.
More Questions?
If you have any questions, please email the Customer Success Management team at CSM@welkinhealth.com or contact your Implementation/CSM directly.