Knowledge Base
Designer
Designer Overview
Designer Version History
Designer Automations
Designer Programs
Designer Profiles
Designer Patients
Designer Custom Data
Designer Visual Components
- Visual Components
- Visual Components & Dependencies
- Filtering With Message Template Variables
- Filtering With Message Template Variables
- How To Create an Assessment or Form Template
- How To Associate Assessments with Programs
- How to Add Assessments to a Template
- How to Configure Scored Assessments
- Create PDFs from Forms & Assessments
- Create Patient Facing Assessment (PFA) Folders
- Charts & Graphs: How to Configure
- Charts & Graphs: Filter, change date and by data point
- Forms: Conditional Logic
Designer Access Control
Designer Task Management
Designer Encounters
Designer Communications
Designer Terminology
Designer Help Page
Configure Phone Names
Phone names allow you to label the phone numbers that are being utilized within Welkin. This label allows the user to easily identify and select the number when utilizing the comms center or when creating automations.
In Designer, scroll down on the left-hand menu and select Phone Names.
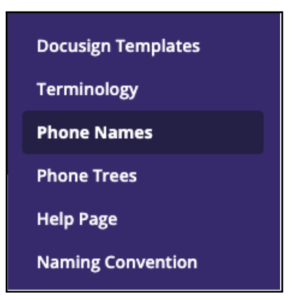
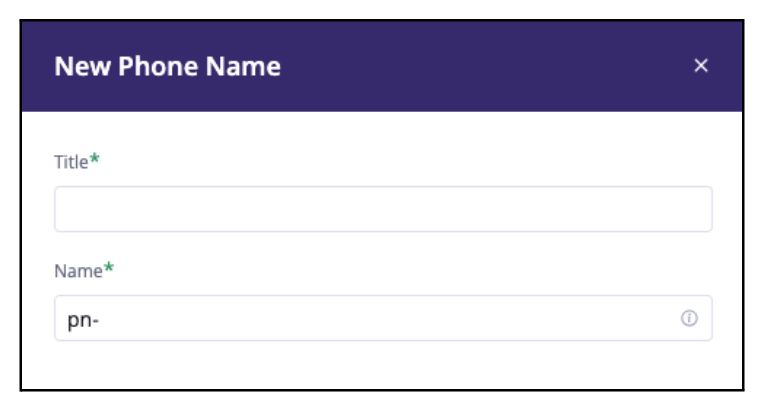
Click on the +New button to create a phone name.

A sidebar will open which will allow you to enter a Title. This will auto-fill the Name field. This field can be edited before saving.
Now that the phone name has been created in Designer, it can be associated with a phone number.
After publishing changes in Designer, this phone name will now be available in Admin; where the phone number association occurs.
Log into Admin, and scroll down on the left hand menu and select Integrations.
The Integrations page displays all environments associated with your tenant in the Communication tab.
Find the name of the environment that the phone name association should occur in. The last heading in each environment will display the Phone Numbers associated with that environment and allow you to select the Phone Name in the drop down below the number.
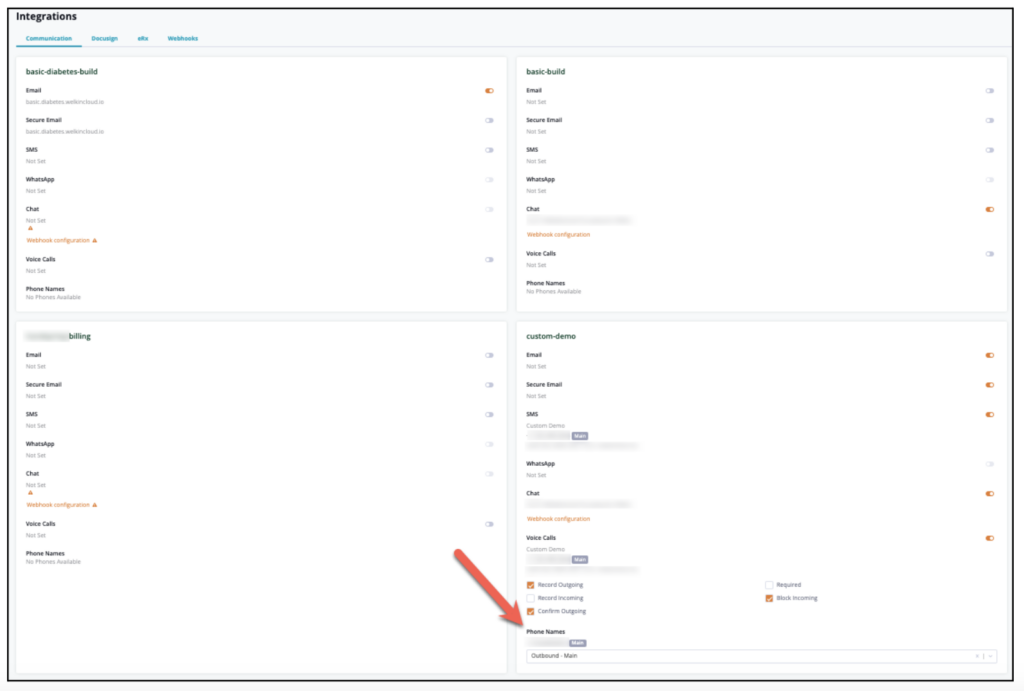
The Phone Number will now be associated with this Phone Name in the Welkin UI.
More Questions?
If you have any questions regarding Phone Names, please visit the Welkin Health Knowledge-Base or contact your Implementation/CSM for more information.