Knowledge Base
Care
Care Overview
Care Home
Care Calendar
Care Patients
- Patients
- Patient Profile
- Patient Profile
- Patient Profile: Editing Patient Information
- My Patients: Create and Search
- My Patients and Bulk Edits/Actions
- Patient Care Teams
- Patient Programs and Phases
- Goals
- Forms and Assessments
- Creating Forms and Assessments
- Charts & Graphs
- Document Management
- Documents: Uploading
- Data Views
Care Encounters
Care Communications
Care Profiles
Encounters: Draft Mode and Finalizing Notes & Assessments
Putting an Encounter note into draft mode enables you to review your notes after the patient visit and before completing (or finalizing) the note, and closing the Encounter.
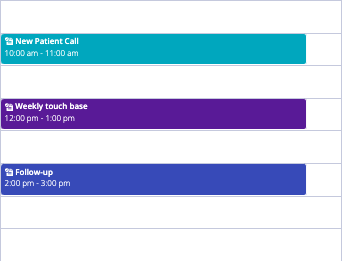
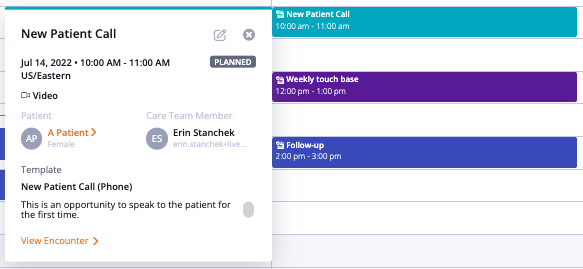
In the example below we are opening an Encounter from the Calendar View. If you have an Encounter already created, click on the Encounter you wish to open. If you have not yet created an encounter, please visit this article to see how to create one.
A pop up will appear with the Encounter details. To start this Encounter, we are going to select the ‘View Encounter’ link on the very bottom left corner.
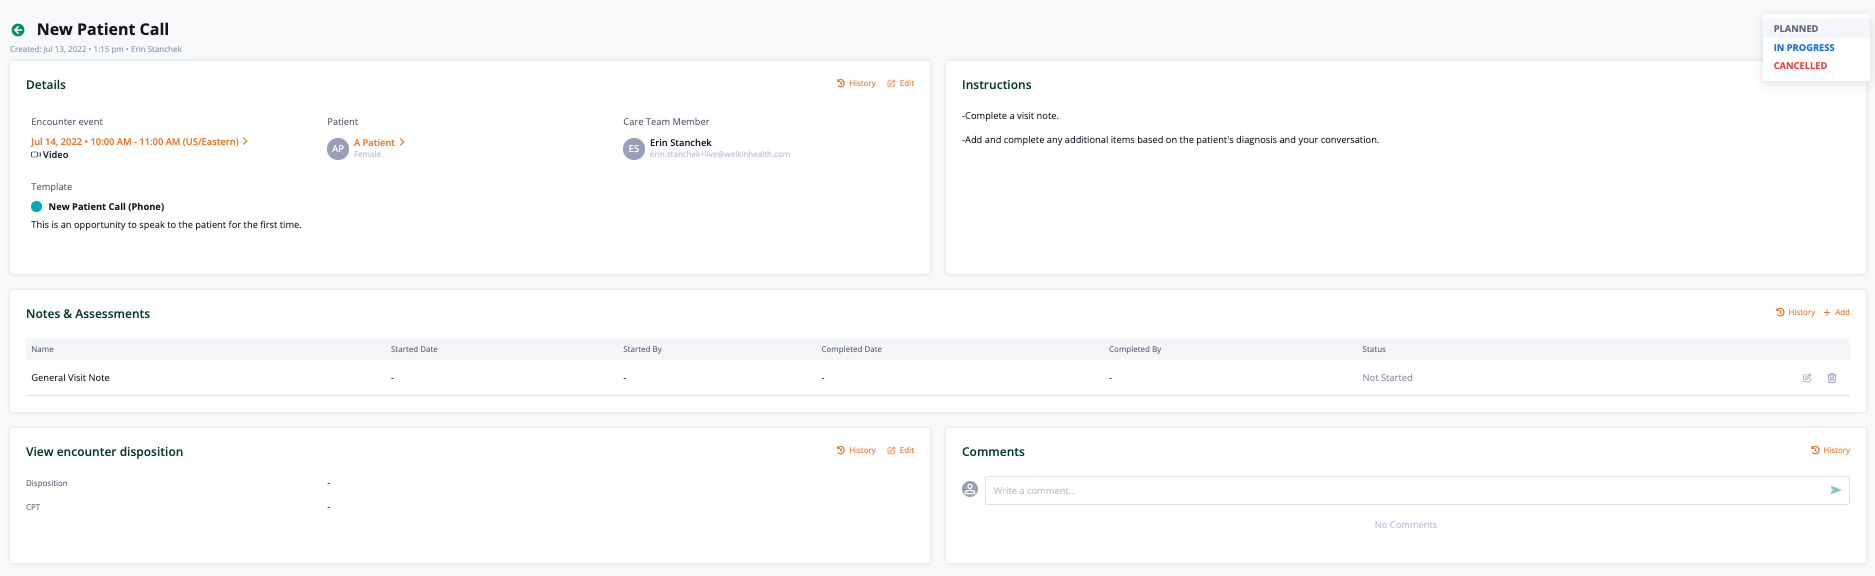
In the upper right hand corner of the screen, the status of the Encounter will be shown as either Planned, In Progress, or Canceled. Moving the encounter from ‘Planned’ to ‘In Progress’ allows you to start entering details into the available fields.
In the Notes & Assessments section, you can see that the encounter’s status will be labeled ‘Not Started’.Select the paper and pencil icon to the right to start adding details to this section.

Once the paper and pencil icon is selected on a form or Encounter that is in ‘Not Started’ or ‘In Progress’ status, a side bar will appear on the right side of the screen which will show the details that need to be entered

Finalize the notes or assessment with the details you wish to add, but note, you will not click “Complete” until you’re finished with the notes entirely. This is important because you will not be able to go back and edit any completed notes. Click on ‘Finish Later’ if you need to review the notes or assessment before finalizing at a later time. If you are finished adding notes or completing the assessment, and will not need to add or edit any information, you can finalize your notes by selecting ‘Complete’.
By selecting the ‘Finish Later’ button within the note, you can see that the status within the Notes & Assessments section changes to ‘In Progress’.

Selecting the paper and pencil icon within the in progress note allows you to go back and add/edit any information before completing, or ‘finalizing’, the note.
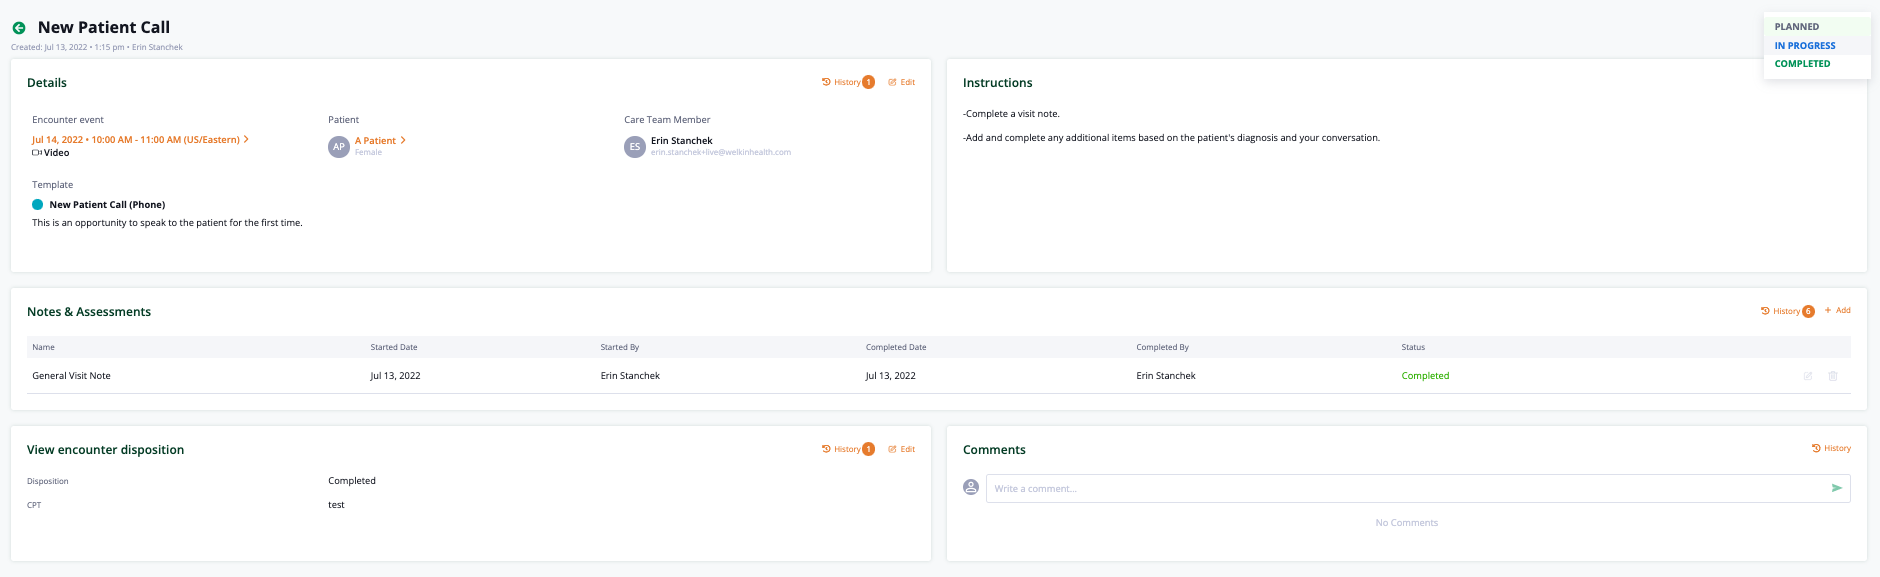
Once the complete button is selected, the status will change in the Notes & Assessments section to ‘Complete’. At this point the provider will no longer be able to make any changes to the notes or assessments.

Once all the required fields have been completed by the provider – move the status of the Encounter from ‘In Progress’ to ‘Complete’