Knowledge Base
Integrations
Integration Overview
Integration Information
- Acuity Set up
- eRX: Implementation Checklist
- eRx: Overview
- eRx: Setup and Configuration
- eRX: IDP Quick Tips
- eRX: Tokens
- eRX: Completing the EPCS invitation and Logistical Access Control
- eRX: How to Reset the EPCS Passphrase
- eRX: Prescribe Tapered, Titrated, & Variable Dose Medications
- eRX: Reporting
- Labs: Overview
- Labs: Setup and Configuration
- Labs: Creating a Lab Order in Health Gorilla
- Labs: Creating a Quick Order Lab in Health Gorilla
- DocuSign: Implementation Checklist
- DocuSign: Authorization
- DocuSign: Setup and Configuration in Admin
- DocuSign: Setup and Configuration in Designer
- DocuSign: Feature Overview in Care
- DocuSign: Feature Overview in Designer
- DocuSign: Creating Templates
- Docusign: Go Live Process
- eSignature Configuration
- Zoom: Setup and Configuration
- Zoom: How to Configure Zoom in Designer
- Zoom: Where Do I Find My Zoom ID?
- Zoom: Setting Up Waiting Rooms
- Sisense: Change Requests
- Paubox: Setup and Functionality
- Google Calendar Integration
- Welkin Calendar Synchronization App
- Stripe: Setup and Configuration
- Candid: Setup and Configuration
- Candid Integration - Required Fields
- Pre-authorization
- Phone Tree Implementation
- Twilio: A2P Questions & Answers
- SSO Setup
- Configuring Google Single Sign On
- OneLogin: Setup and Configuration
Integration Support
Docusign: Go Live Process
Docusign – Go Live
Overview – DocuSign Go Live Process
Go Live is DocuSign’s process for migrating an integration created in the demo environment to the production environment. Go Live is necessary before you can perform real transactions in your integration through the DocuSign APIs. This process takes approximately 1 week to complete
Complete the following tasks to initiate the Go Live process:
- 20 API calls in a 24 hour period: To make the required number of API calls for the integration before Go Live, we recommend signing a test document at least 10 times using the Welkin Docusign integration in a test patient profile. The Docusign logging for the API calls is delayed by several minutes, so your integration testing may not count against the number of API calls immediately.
- *** Please Note – The API test can only utilize signing tests via email, not sms
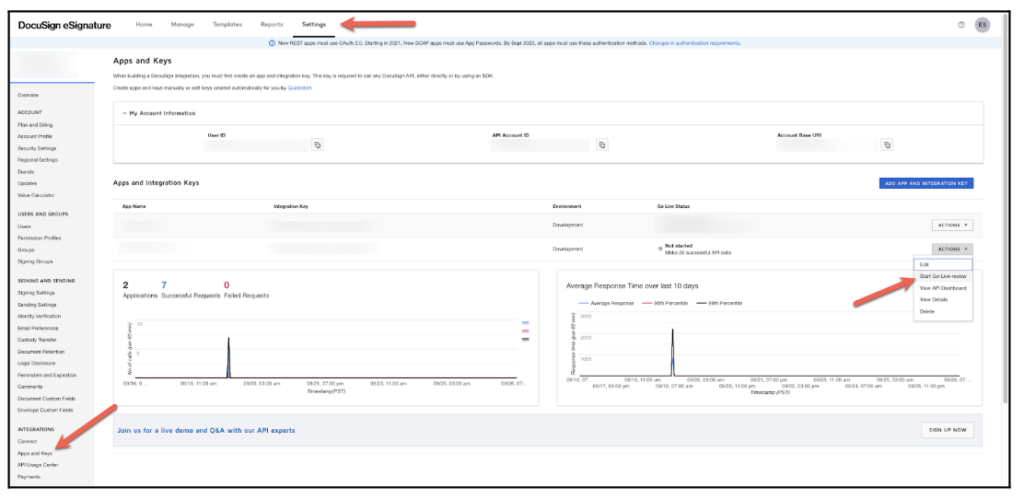
- Initiate Go-Live Review: Sign into the Developer DocuSign Admin account (Go-Live is initiated from the Developer Account – not the Production Account). Navigate to the following – Settings > Apps and Keys. Under the Apps and Integrations Keys section – select the Actions drop down next to the app needing review
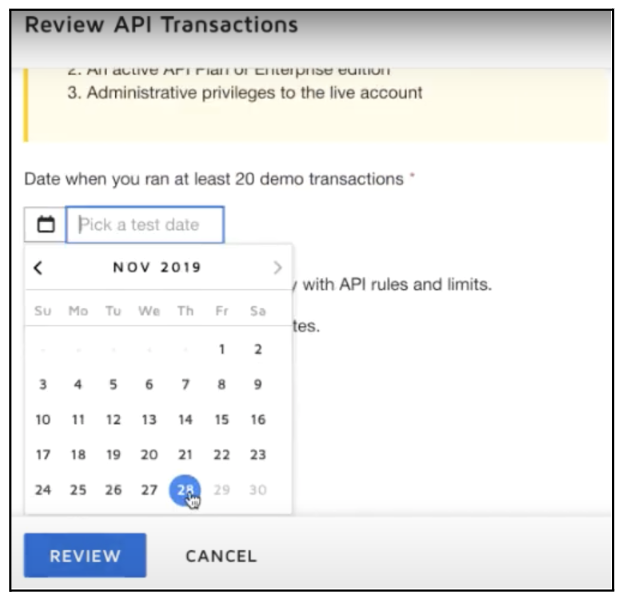
Select the date of when the DocuSign API calls/actions were taken
Click on Review
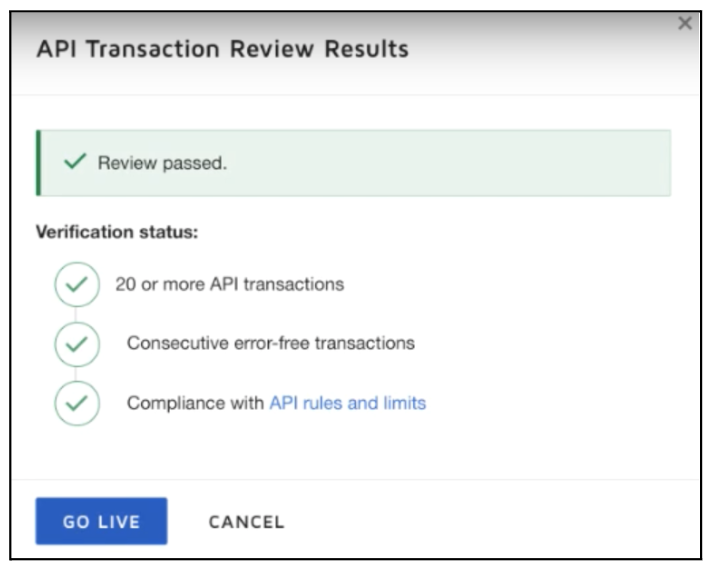
- In the Actions drop-down, select Refresh Status every few minutes until the status changes
- In the Actions drop-down, select Review Results
- Click on Go Live
- Terms and Conditions appears – click on the checkbox and click Submit
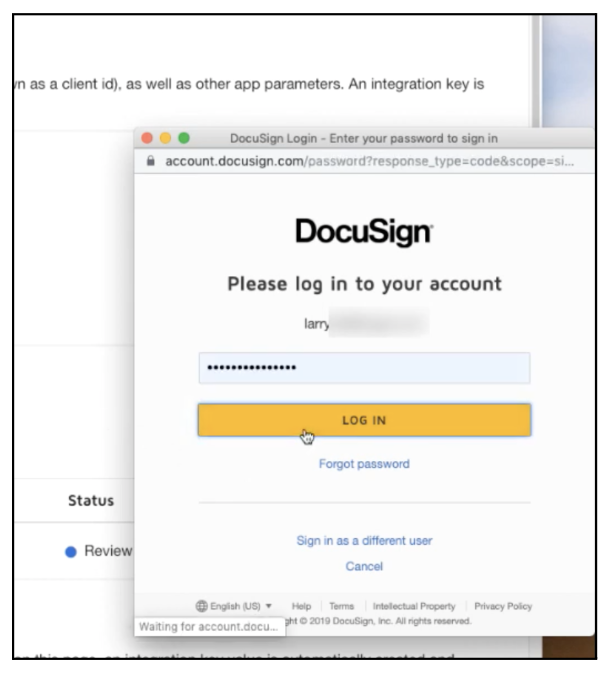
- A pop-up log-in screen will appear (if the pop-up does not appear – please check your browser settings to temporarily allow pop-ups) the Administrator of the Production account will need to log in
- Another pop-up window will appear upon successful login by the administrator. Select the Production Account and click Select
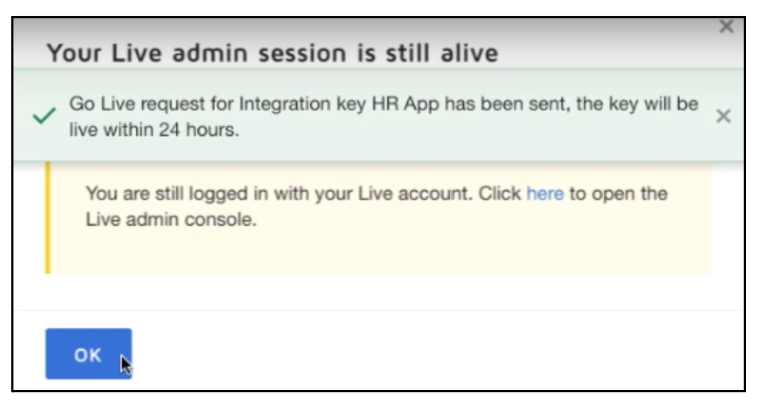
- A status message will appear indicating that the manual go-live approval process has been initiated
.
- Within 3 business days – you will receive an email with the completed DocuSign envelope – confirming that the integration key is now live
More Questions?
If you have any questions regarding the Docusign Integration or its implementation, please visit the Welkin Health Knowledge Base or contact your Implementation/CSM for more information.