Knowledge Base
Integrations
Integration Overview
Integration Information
- Acuity Set up
- eRX: Implementation Checklist
- eRx: Overview
- eRx: Setup and Configuration
- eRX: IDP Quick Tips
- eRX: Tokens
- eRX: Completing the EPCS invitation and Logistical Access Control
- eRX: How to Reset the EPCS Passphrase
- eRX: Prescribe Tapered, Titrated, & Variable Dose Medications
- eRX: Reporting
- Labs: Overview
- Labs: Setup and Configuration
- Labs: Creating a Lab Order in Health Gorilla
- Labs: Creating a Quick Order Lab in Health Gorilla
- DocuSign: Implementation Checklist
- DocuSign: Authorization
- DocuSign: Setup and Configuration in Admin
- DocuSign: Setup and Configuration in Designer
- DocuSign: Feature Overview in Care
- DocuSign: Feature Overview in Designer
- DocuSign: Creating Templates
- Docusign: Go Live Process
- eSignature Configuration
- Zoom: Setup and Configuration
- Zoom: How to Configure Zoom in Designer
- Zoom: Where Do I Find My Zoom ID?
- Zoom: Setting Up Waiting Rooms
- Sisense: Change Requests
- Paubox: Setup and Functionality
- Google Calendar Integration
- Welkin Calendar Synchronization App
- Stripe: Setup and Configuration
- Candid: Setup and Configuration
- Candid Integration - Required Fields
- Pre-authorization
- Phone Tree Implementation
- Twilio: A2P Questions & Answers
- SSO Setup
- Configuring Google Single Sign On
- OneLogin: Setup and Configuration
Integration Support
DocuSign: Creating Templates
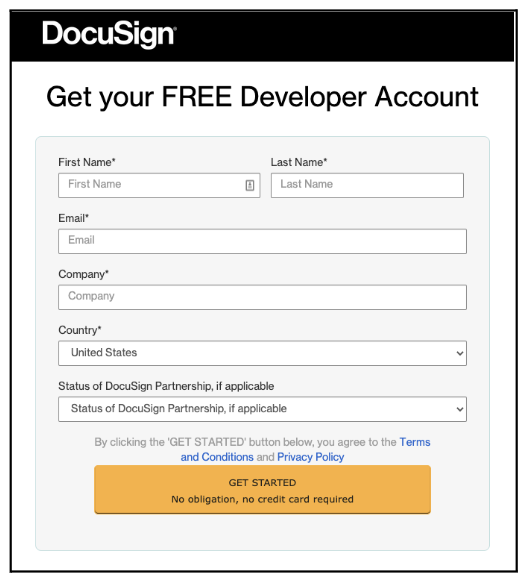
If you don’t already have a DocuSign Developer Account, you’ll need to start there. Navigate to https://go.docusign.com/o/sandbox/ to register for a DocuSign Developer Account.
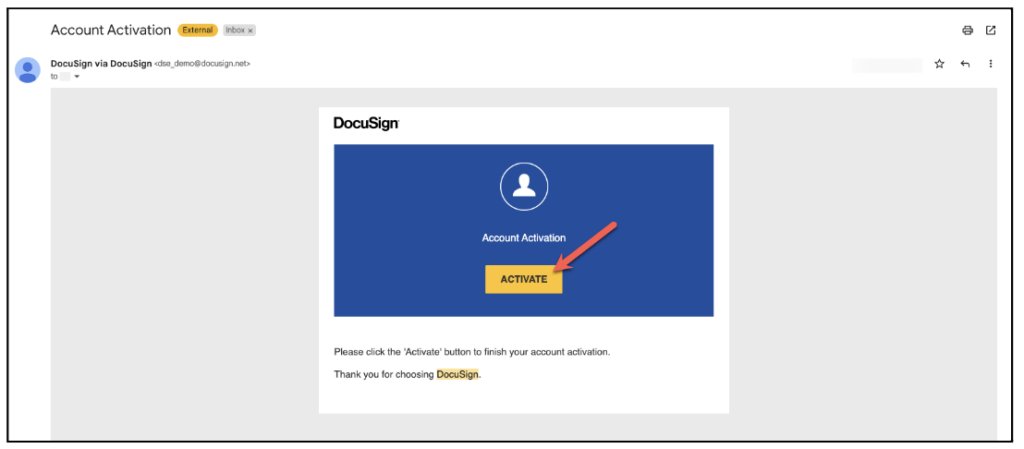
You will receive an email from Docusign upon completion of the form above. Within the email click on Activate to get started
On the upper horizontal menu select Templates
On the left hand side of the screen Select New
From the drop down menu select Create Template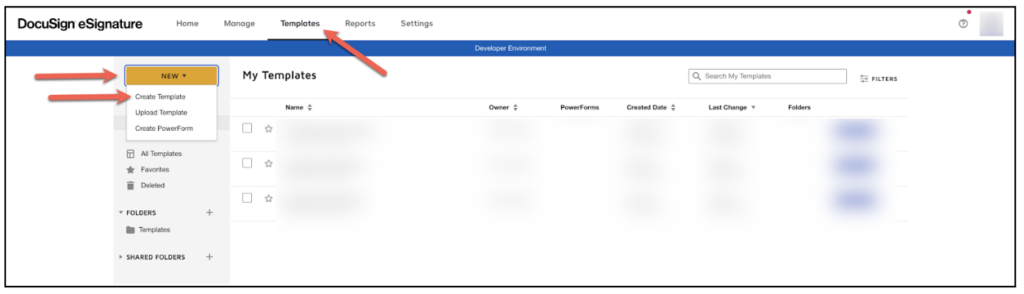
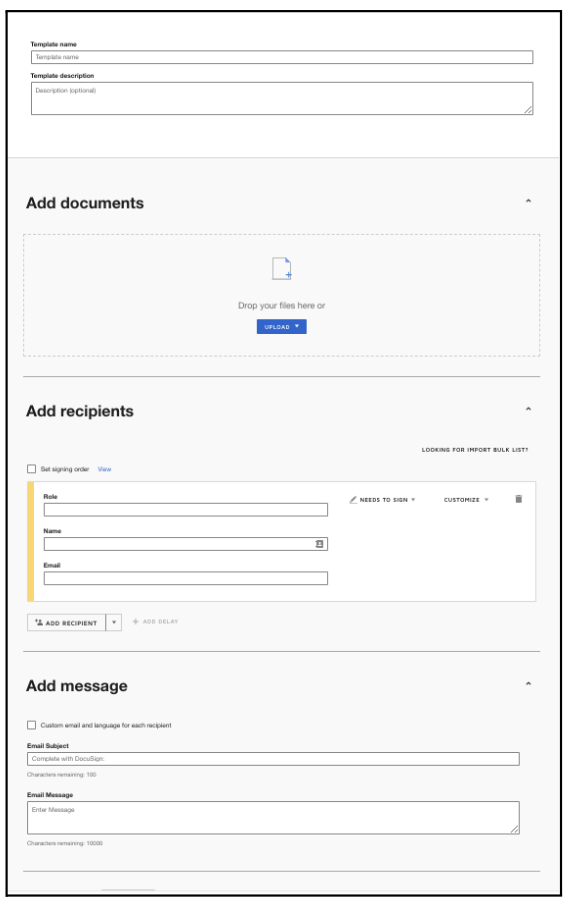
To create the DocuSign Template, enter the following:
- Template Name
- Template Description (optional)
- Upload the document you would like
- to create as a Docusign template
- Under Add Recipients, enter Role as
- “patient” (all lowercase) and leave
- remaining fields (like name) blank
- Enter a custom email subject and
- message if you do not want to use the
- default Docusign message
- Click Next
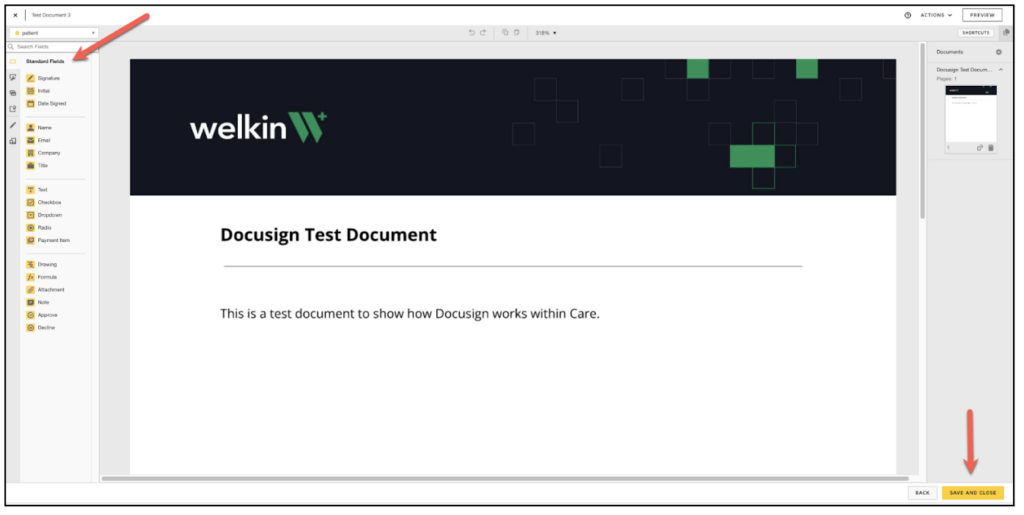
From the left hand menu, select the standard field and drag/drop the field as needed within the document.
Once completed, select Save and Close
The template will now be available in Templates > My Templates
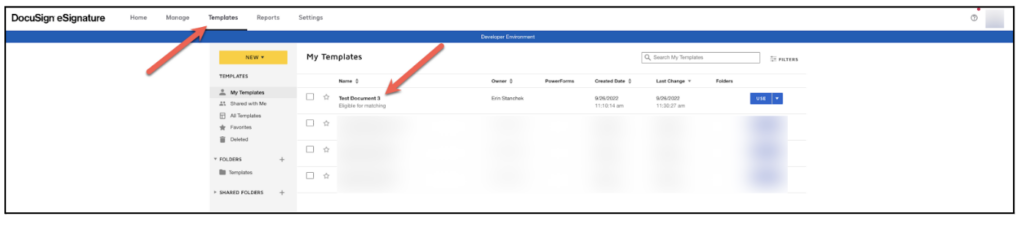
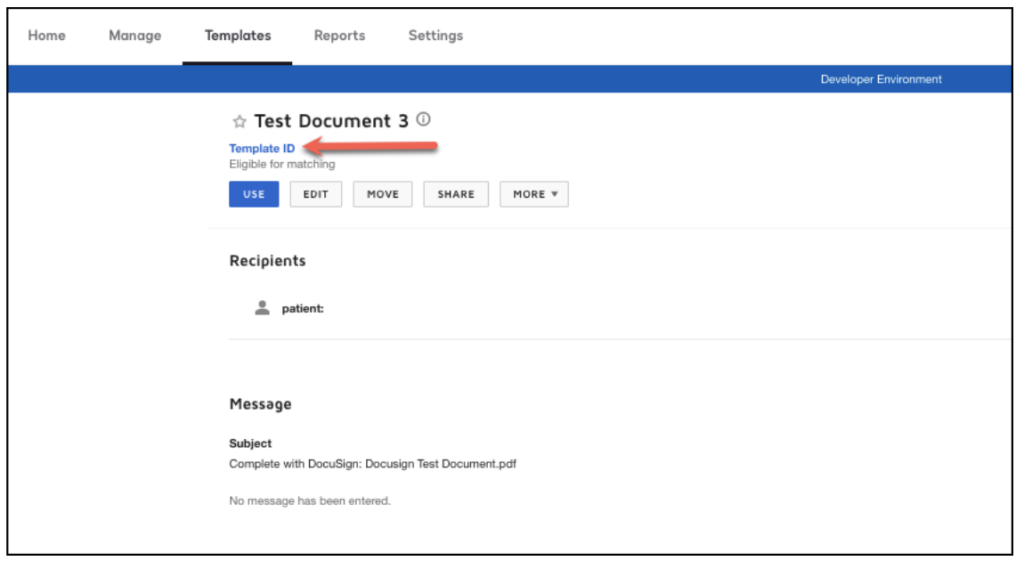
To configure this template within Welkin the Template ID is required. To obtain this information, click on the Template Name. Click on Template ID
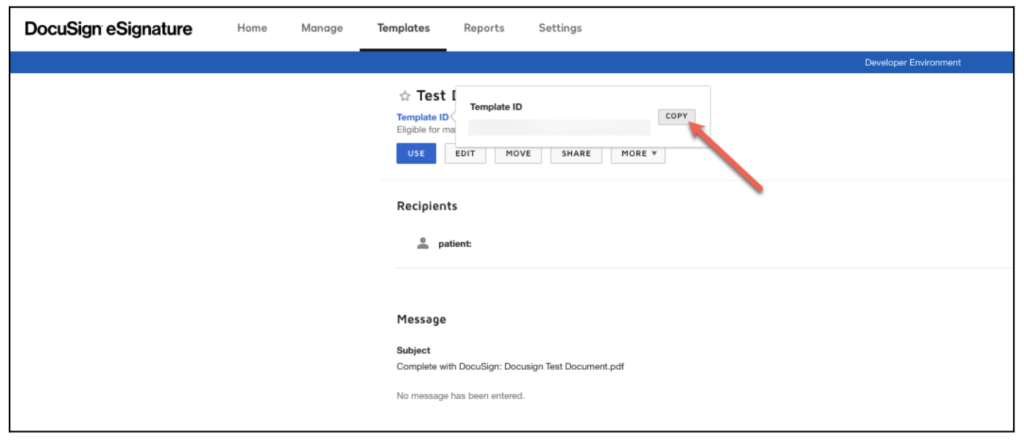
The Template ID will be shown – select the Copy button. Review the Docusign Designer Overview document to add the Template ID to Designer
More Questions?
If you have any questions regarding the Docusign Integration or its implementation, please visit the Welkin Health Knowledge-Base or contact your Implementation/CSM for more information.